
Claude and ChatGPT always use OAuth. Claude Code, Codex, Cursor, Gemini CLI, VS
Code and Windsurf support both, and you choose by what you put in their config
file: leave the credential out and the client signs you in over OAuth, supply one
and the client reaches the whole workspace. Both routes hit the same server and
expose the same tools.
OAuth, scoped to you
The assistant acts as the person who approved the connection. Every tool call runs with that person’s permissions, so listings come back filtered to what they can see, and a form they cannot open is refused rather than returned. That makes OAuth the better fit whenever a real person is driving the assistant, because the reach of the connection is the reach of that person’s account. Clients that add a server by URL discover everything else on their own. The server publishes its OAuth metadata athttps://connect.neetoform.com/.well-known/oauth-authorization-server and
registers each client automatically, so there is no client id or secret for you
to create.
Registration also accepts loopback redirect URIs such as
http://localhost:8080/callback. That is what lets a client running on your own
machine catch the callback, so Claude Code, Codex, Cursor, Gemini CLI, VS Code
and Windsurf complete the same sign in a browser client does.
What you approve
The Authorize access screen shows what the connection will be allowed to do. Two of the four permissions come with every connection; the other two are yours to grant.
Read and Stay connected are ticked and cannot be unticked, so every
connection can read and can refresh itself. Create and update and Delete
are the only two you decide on, and leaving both unticked gives you a read-only
connection.
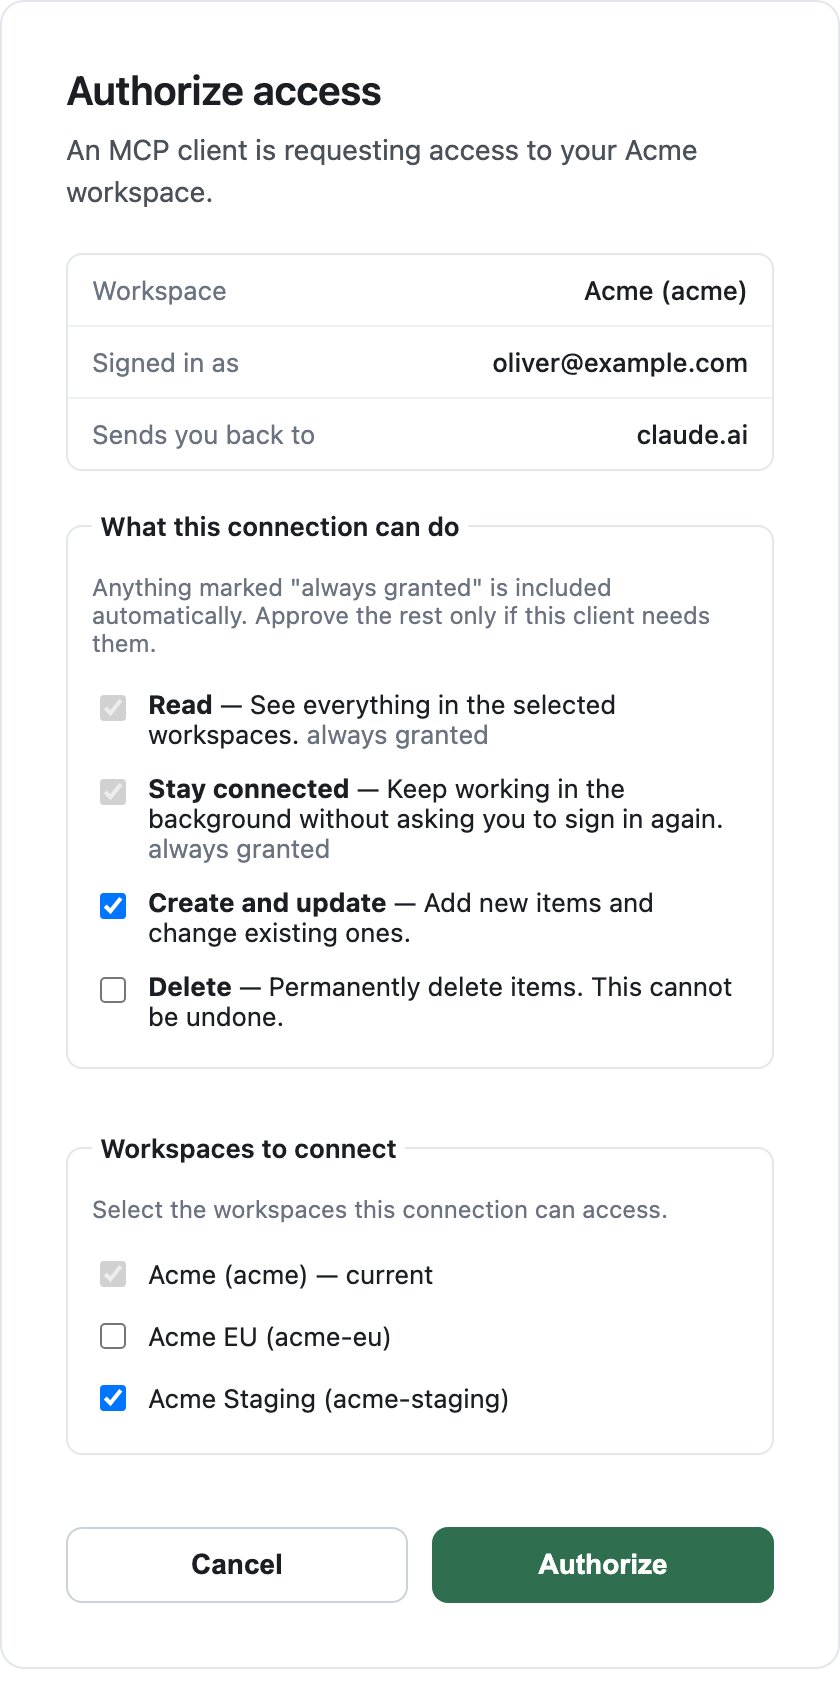
The Authorize access screen, with the permission picker above the workspace list.
What you see when you connect
-
Choose your workspace. Enter the subdomain of the workspace you want the
assistant to reach. For
acme.neetoform.com, enteracme. See Workspace subdomain.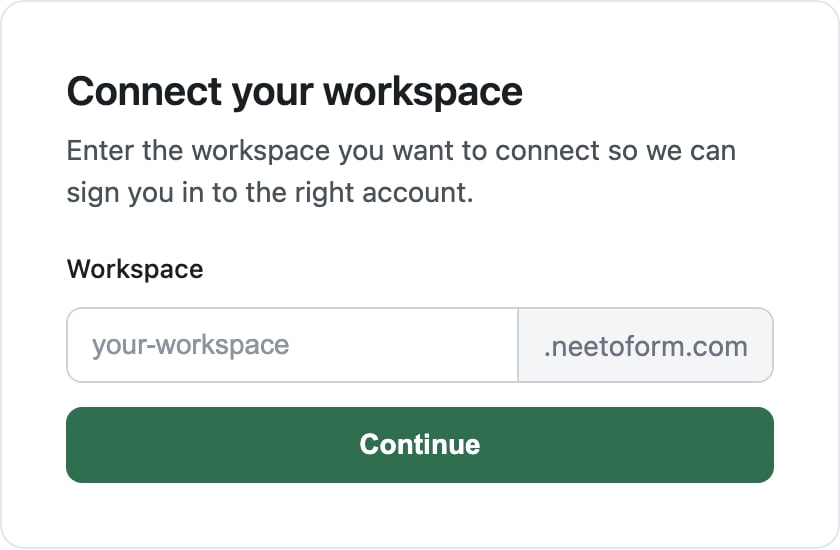
The first screen of the NeetoForm OAuth flow.
- Sign in to that workspace, if you are not signed in already.
- Check what you are approving. Tick Create and update or Delete in the permission picker if the assistant needs them. When your email belongs to more than one workspace, the screen also lists them all; the one you signed in to is always included, so tick any others the same connection should reach.
- Authorize. The assistant is granted access as you, with the permissions you ticked, to each workspace you ticked.
workspace argument for this, and the ListWorkspaces tool
reports the subdomains to pass.
API key, scoped to the workspace
An API key carries no identity. Every tool call covers the entire workspace, no matter whose machine the assistant runs on or who is typing. Two people sharing one key are indistinguishable to NeetoForm, and neither is limited to the forms they created. Because there is no user behind the key, the organization role checks do not run at all. Where OAuth refuses an action your role does not allow, an API key performs it. A key handed to someone with a Standard role therefore lets their assistant do what an Admin could, including inviting members and changing roles. That is what you want for automation that has to see everything, and what you do not want on a laptop belonging to someone who should only see their own work. The key is the same one the REST API uses. The REST API takes it in anX-Api-Key header; MCP clients send it as a bearer
token instead: